The combined operations of Sector 1 and Sector 2 in the Belonia Bulge exemplified inter-sector coordination during the 1971 Bangladesh Liberation War. Though the Bulge fell primarily under Sector 1's area (along the Muhuri River), its proximity to Sector 2's zone (Comilla-Feni-Noakhali) necessitated joint efforts.
Forces from both sectors collaborated on infiltrations, defenses, and offensives, turning the enclave into a persistent challenge for Pakistani logistics and a beacon of Mukti Bahini unity.Reasons for Joint OperationsThe Bulge's geography demanded cooperation:
Tags: Bangladesh Liberation War 1971, Combined Operations Sector 1 and 2, Belonia Bulge Coordination, Captain Jafar Imam Sector 2, Mukti Bahini Joint Battles, Muktijuddho, Joy Bangla
- Shared Border Vulnerability — The salient threatened highways in both sectors' operational areas.
- Cross-Sector Infiltration — Fighters from Tripura camps (serving both sectors) crossed at multiple points.
- Resource Pooling — Sector 1 provided hill expertise and tribal alliances; Sector 2 contributed regular forces and leadership like Captain Jafar Imam.
- June 1971 Infiltration → Primarily Sector 2-led (Captain Jafar Imam's four companies), but Sector 1 forces supported defenses on the eastern flank. The Bulge was held jointly until late June.
- Defense Against Counterattacks (July-October) → Combined patrols and ambushes repelled Pakistani assaults. Sector 1 guerrillas sealed eastern approaches while Sector 2 held western lines.
- November Offensive → Renewed joint push encircled Pakistani positions. Sector 2's 10th East Bengal Regiment (raised by Jafar Imam) coordinated with Sector 1 elements, leading to surrenders on November 10.
- December Final Push → Operations merged into the broader allied advance, with both sectors contributing to liberation of Feni and approaches to Chittagong.
- Prolonged control of the Bulge, denying the Dhaka-Chittagong highway segment.
- Inflicted heavy Pakistani losses while preserving Mukti Bahini strength.
- Set a model for inter-sector synergy replicated elsewhere.
Tags: Bangladesh Liberation War 1971, Combined Operations Sector 1 and 2, Belonia Bulge Coordination, Captain Jafar Imam Sector 2, Mukti Bahini Joint Battles, Muktijuddho, Joy Bangla

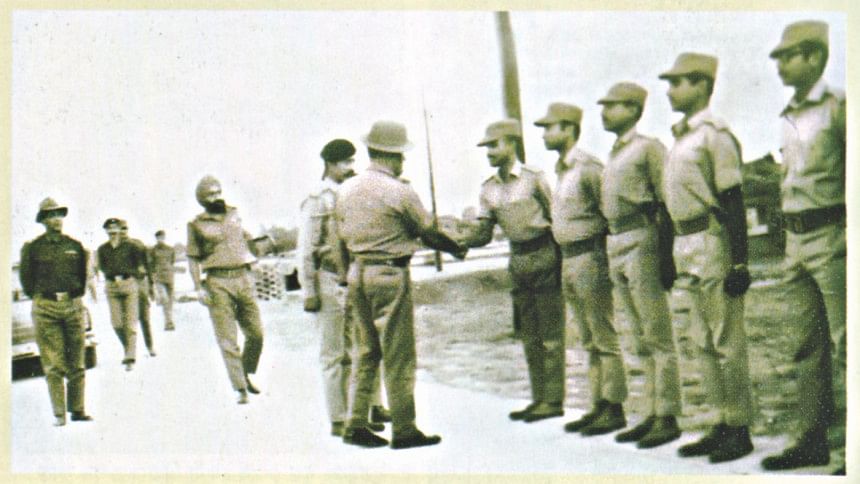
Combined Sector 1 and 2 forces in action at Belonia Bulge

Mukti Bahini joint operations defending the Bulge

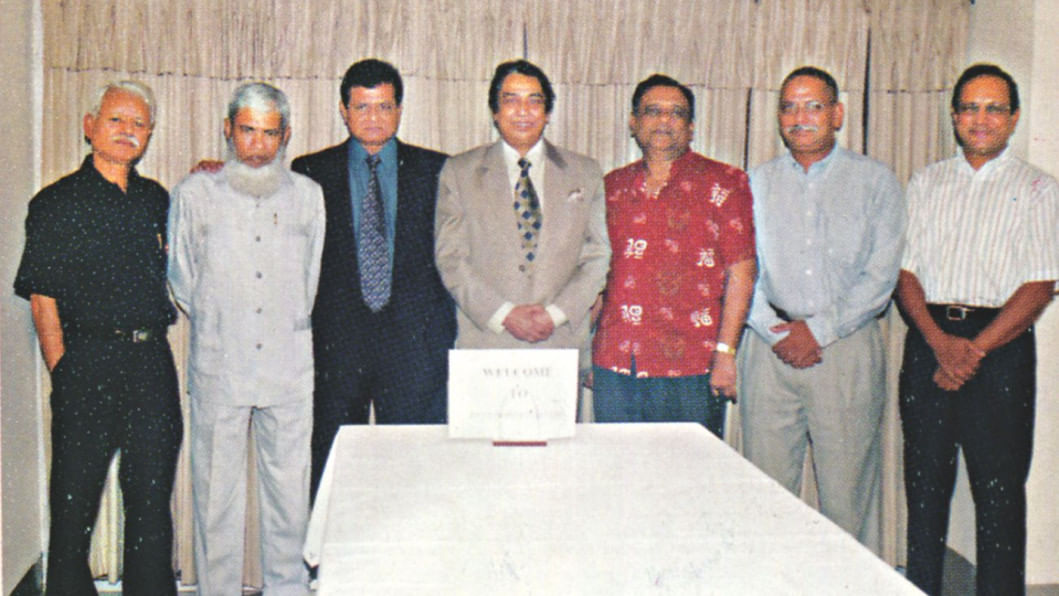
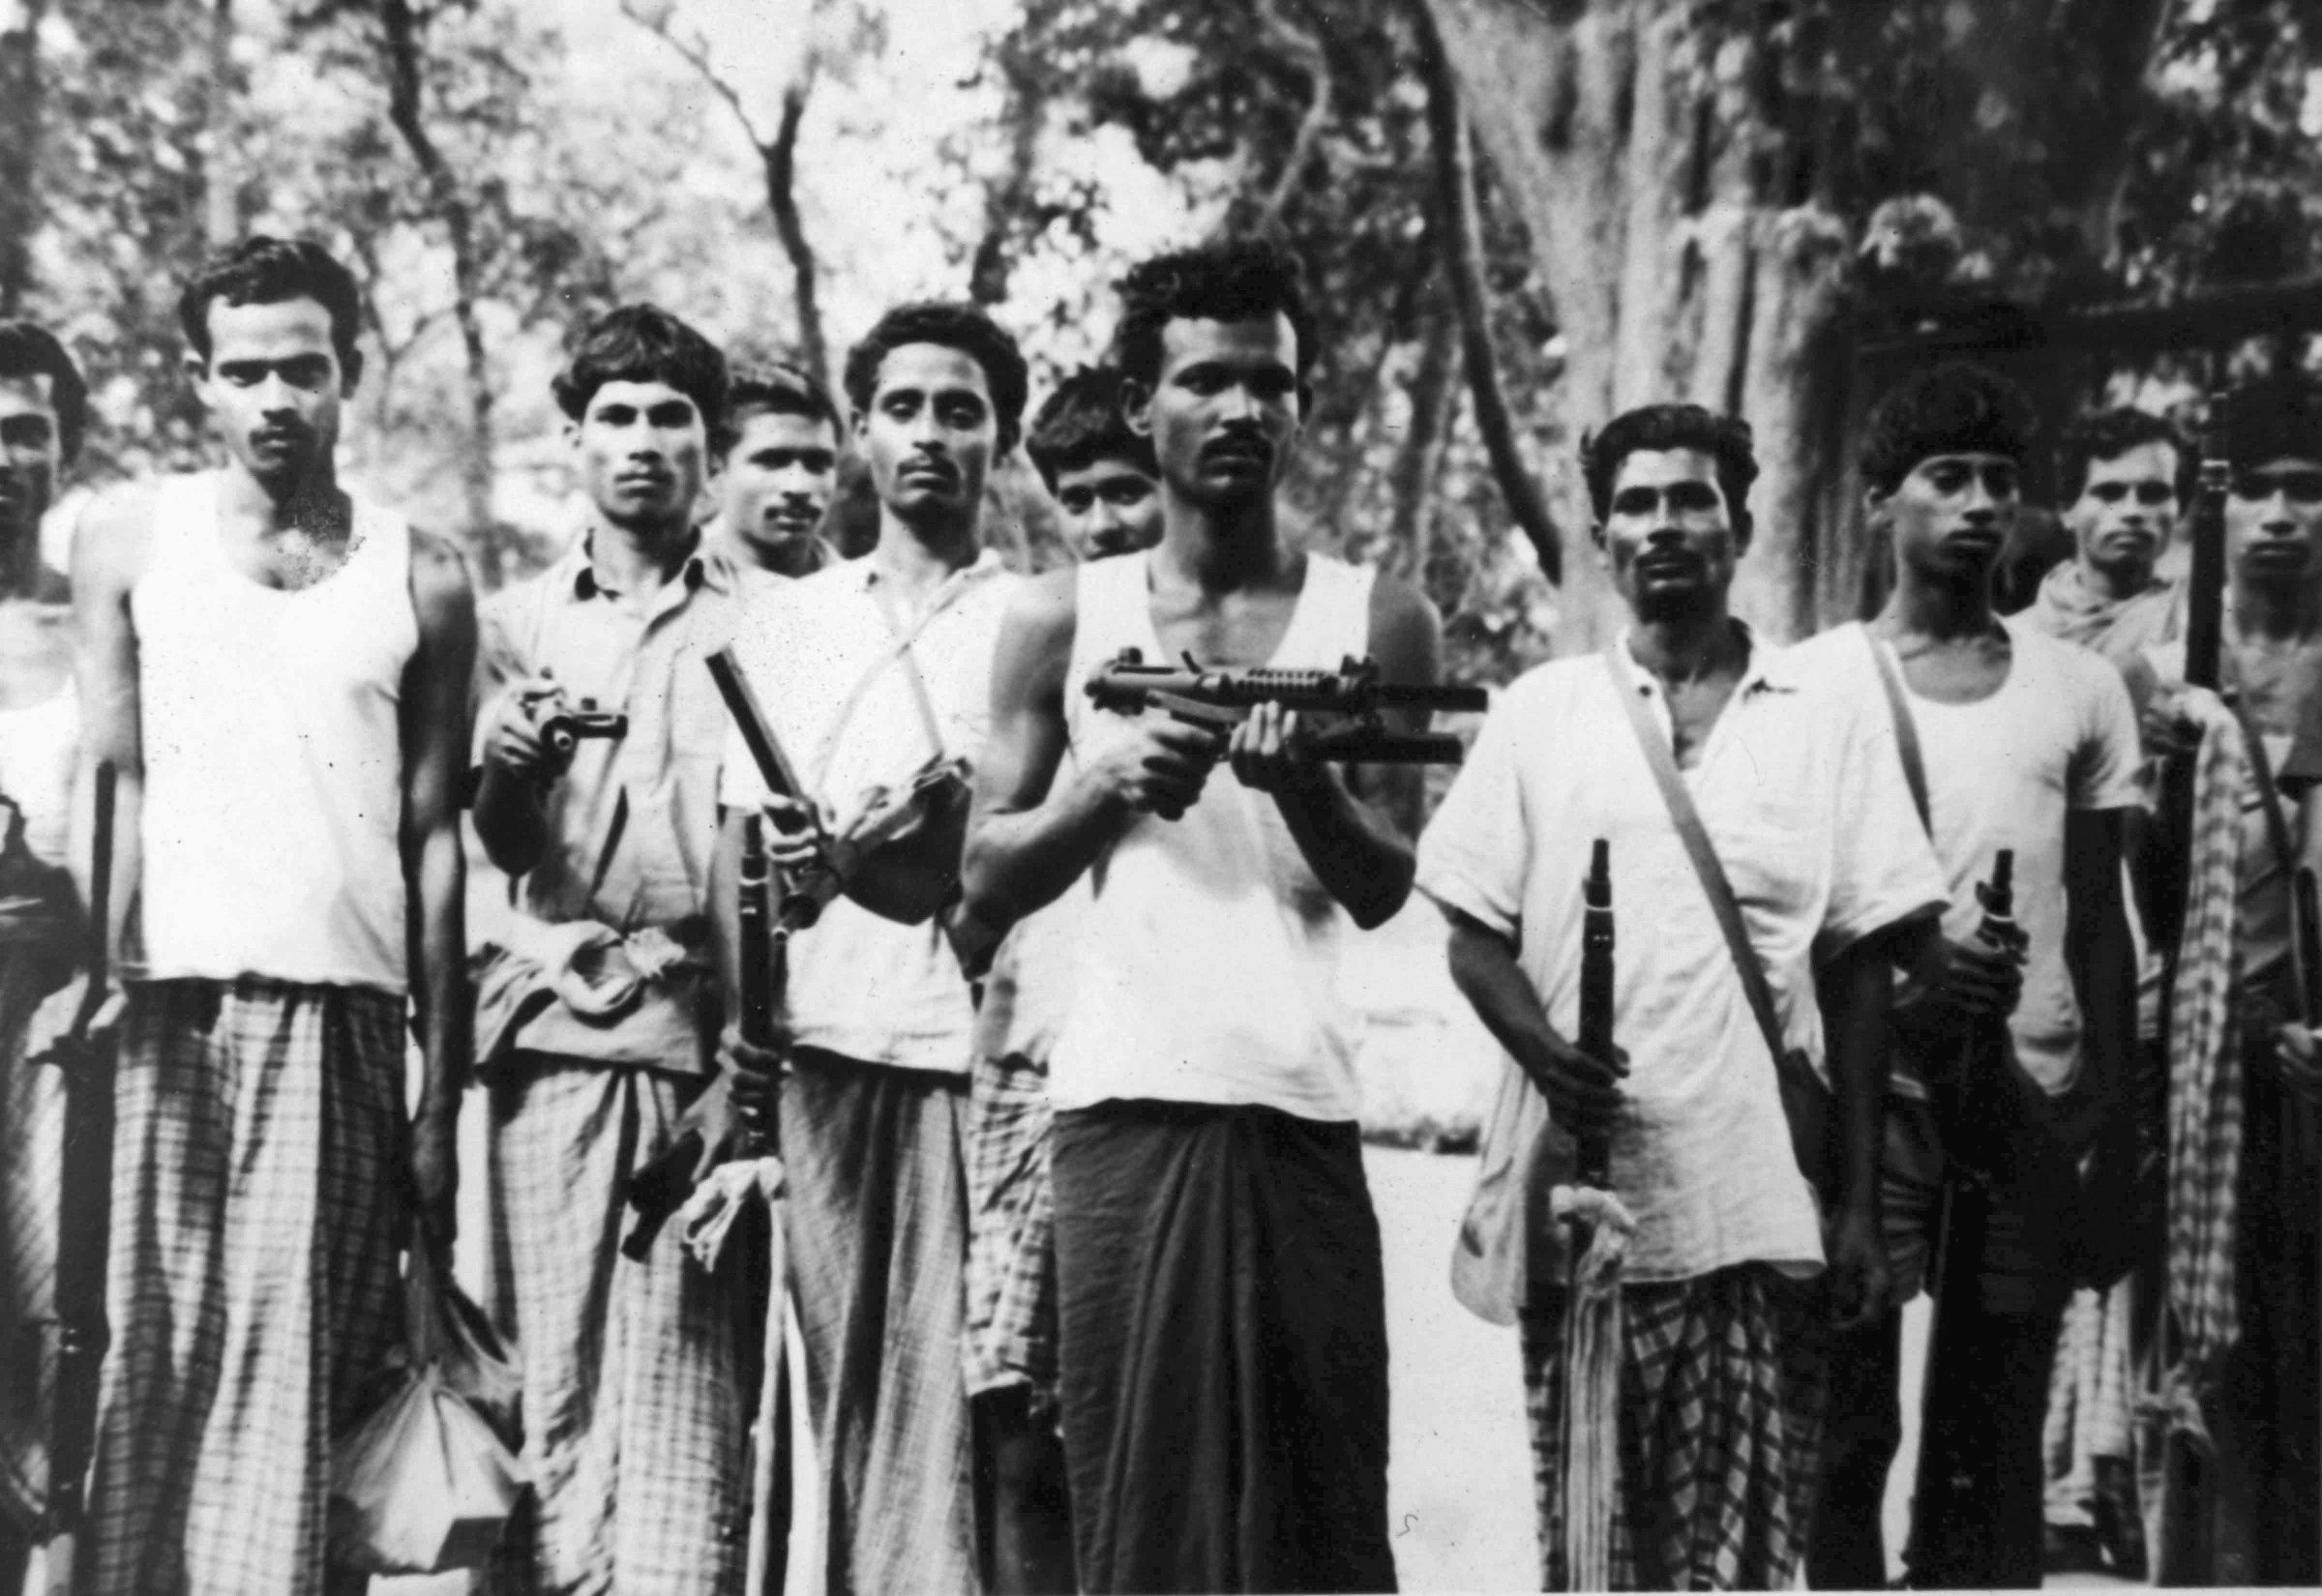
Freedom fighters from multiple sectors in Belonia area

Coordinated efforts in the Belonia enclave

Mukti Bahini teams from Sectors 1 and 2 united

Guerrillas in combined defense of Belonia
Sector 1 Visual Gallery • 1971 Bangladesh Liberation War
