
Ambush operations on Pakistani supply lines in Chittagong district and surrounding areas formed a cornerstone of Sector 1's guerrilla strategy during the 1971 Bangladesh Liberation War. The vital Dhaka-Chittagong highway and secondary roads carried essential convoys of troops, ammunition, fuel, and food from Chittagong Port to Pakistani garrisons across East Pakistan.
Mukti Bahini fighters, operating in small mobile groups, repeatedly struck these lifelines, inflicting casualties, destroying vehicles, and forcing the enemy to divert resources to escort duties—severely hampering their operational freedom.The Strategic Importance of Supply LinesChittagong Port served as the primary entry point for Pakistani reinforcements and materiel shipped from West Pakistan. The main highway linking Chittagong to Dhaka (via Feni and Comilla) was the fastest land route for moving these supplies inland.Secondary roads through the Chittagong Hill Tracts and toward Ramgarh supported outposts in the hills. Disrupting these lines isolated Pakistani troops, lowered morale, and prevented rapid response to Mukti Bahini activities elsewhere.Sector commanders, first Major Ziaur Rahman and then Captain Rafiqul Islam, prioritized ambushes as a low-risk, high-impact tactic suited to the terrain.Typical Ambush Tactics EmployedMukti Bahini groups (often 10-30 fighters) used classic guerrilla methods:
Tags: Bangladesh Liberation War 1971, Ambush Operations Sector 1, Pakistani Supply Lines Chittagong, Mukti Bahini Guerrilla Attacks, Highway Ambushes, Muktijuddho, Joy Bangla
- Reconnaissance — Local informants and tribal scouts tracked convoy movements, identifying schedules and routes.
- Site Selection — Narrow, winding sections of road with high ground on one or both sides—common in hilly areas—provided ideal kill zones. Dense jungle allowed concealment.
- Setup — Teams positioned on elevated positions: one group to initiate fire, flankers to cut off escape, and a rear guard to cover withdrawal.
- Execution — Attacks began with mines or rocket launchers to disable lead/rear vehicles, trapping the convoy. Automatic fire and grenades followed, targeting personnel and cargo.
- Rapid Withdrawal — After 5-15 minutes, fighters melted into the jungle using pre-planned escape routes, often guided by locals.
- Dhaka-Chittagong Highway — Frequent ambushes between Chittagong and Feni forced heavy escorts, delaying convoys and exposing them further.
- Kumira and Sitakunda Areas — Early ambushes (April-May 1971) by defected EPR and army units disrupted initial reinforcements.
- Ramgarh and Hill Roads — Convoys to hill outposts faced constant harassment, isolating garrisons.
- Belonia Bulge Approaches — Ambushes supported defense of liberated zones.
Tags: Bangladesh Liberation War 1971, Ambush Operations Sector 1, Pakistani Supply Lines Chittagong, Mukti Bahini Guerrilla Attacks, Highway Ambushes, Muktijuddho, Joy Bangla
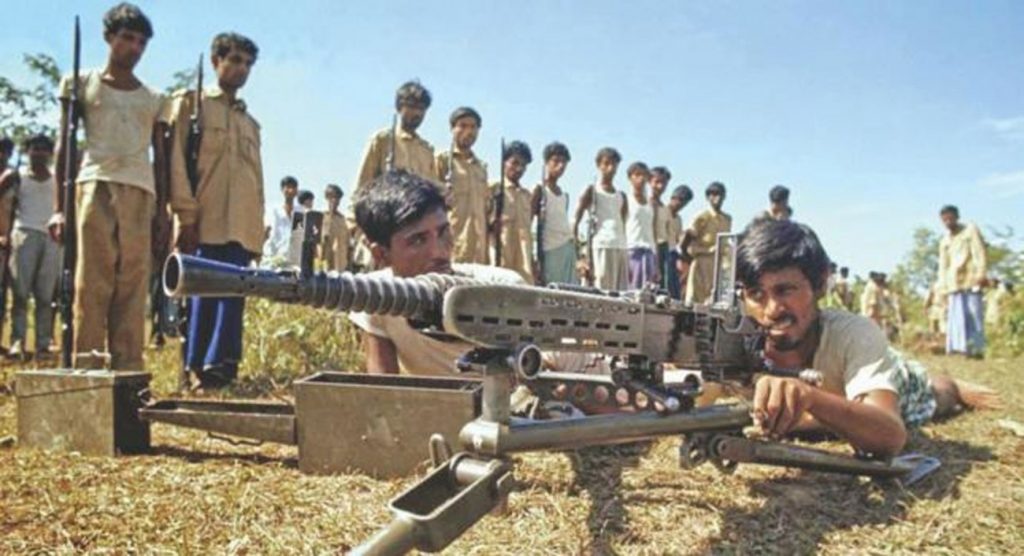
Mukti Bahini fighters preparing for ambush operations

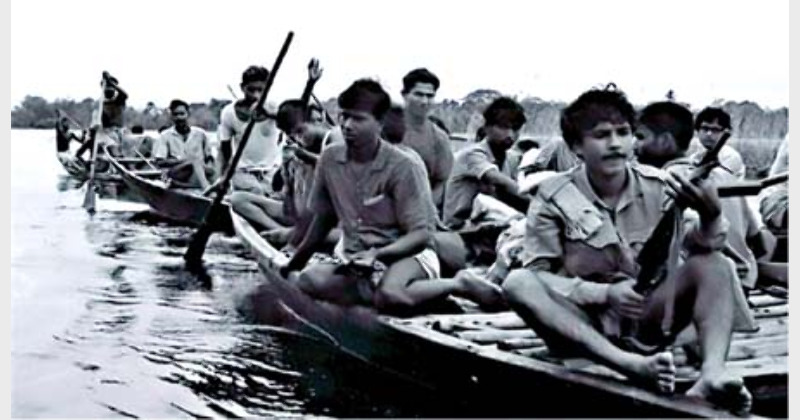
Guerrillas in monsoon conditions targeting supply convoys
Mukti Bahini in action against Pakistani forces

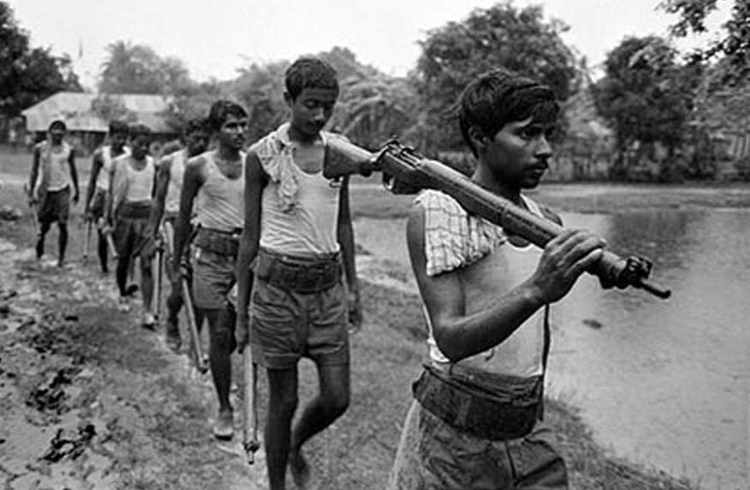
Sector 1 guerrillas ready for supply line ambushes
Mukti Bahini attacking enemy positions and supply routes

Determined Mukti Bahini group disrupting supply lines
Sector 1 Visual Gallery • 1971 Bangladesh Liberation War